Wednesday, March 31, 2021
Tags
- certificates
- code
- key
- missing
- private
- public
- signing
- Xcode
Manually Generate Code Signing Certificates from Apple
Wednesday, March 31, 2021 - Sam Rowlands
In recent years I'm hearing of more customers having trouble getting Xcode to download and install their certificates. So we're going to walk through the process of manually generating and installing certificates.
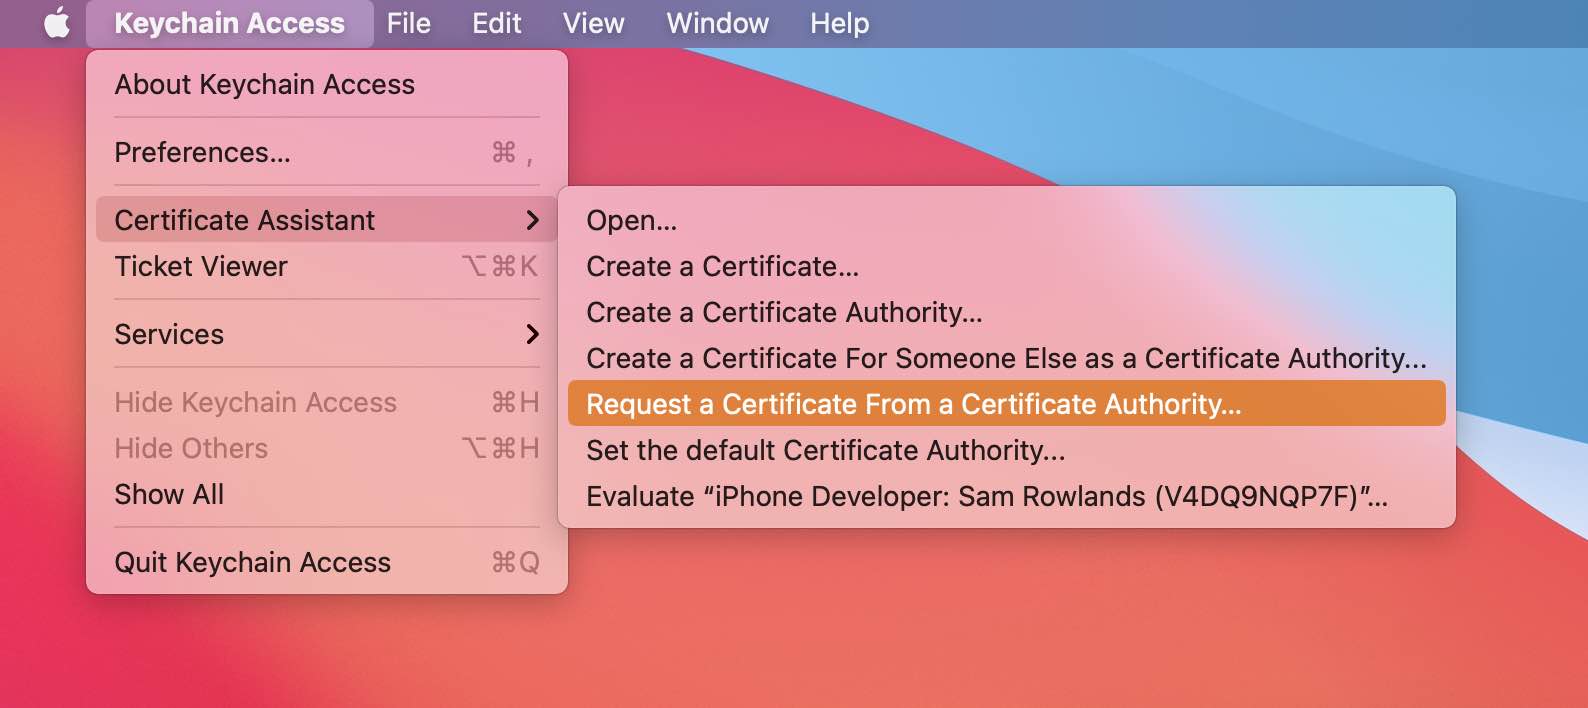
- Open Keychain Access
- Select "Request a Certificate From a Certificate Authority..." from the "Certificate Assistant" menu on the "Keychain Access" menu.
- Fill in the e-mail address, make sure the "Common Name" is your name (not mine!), and select "Saved to Disk", then click on "Continue".
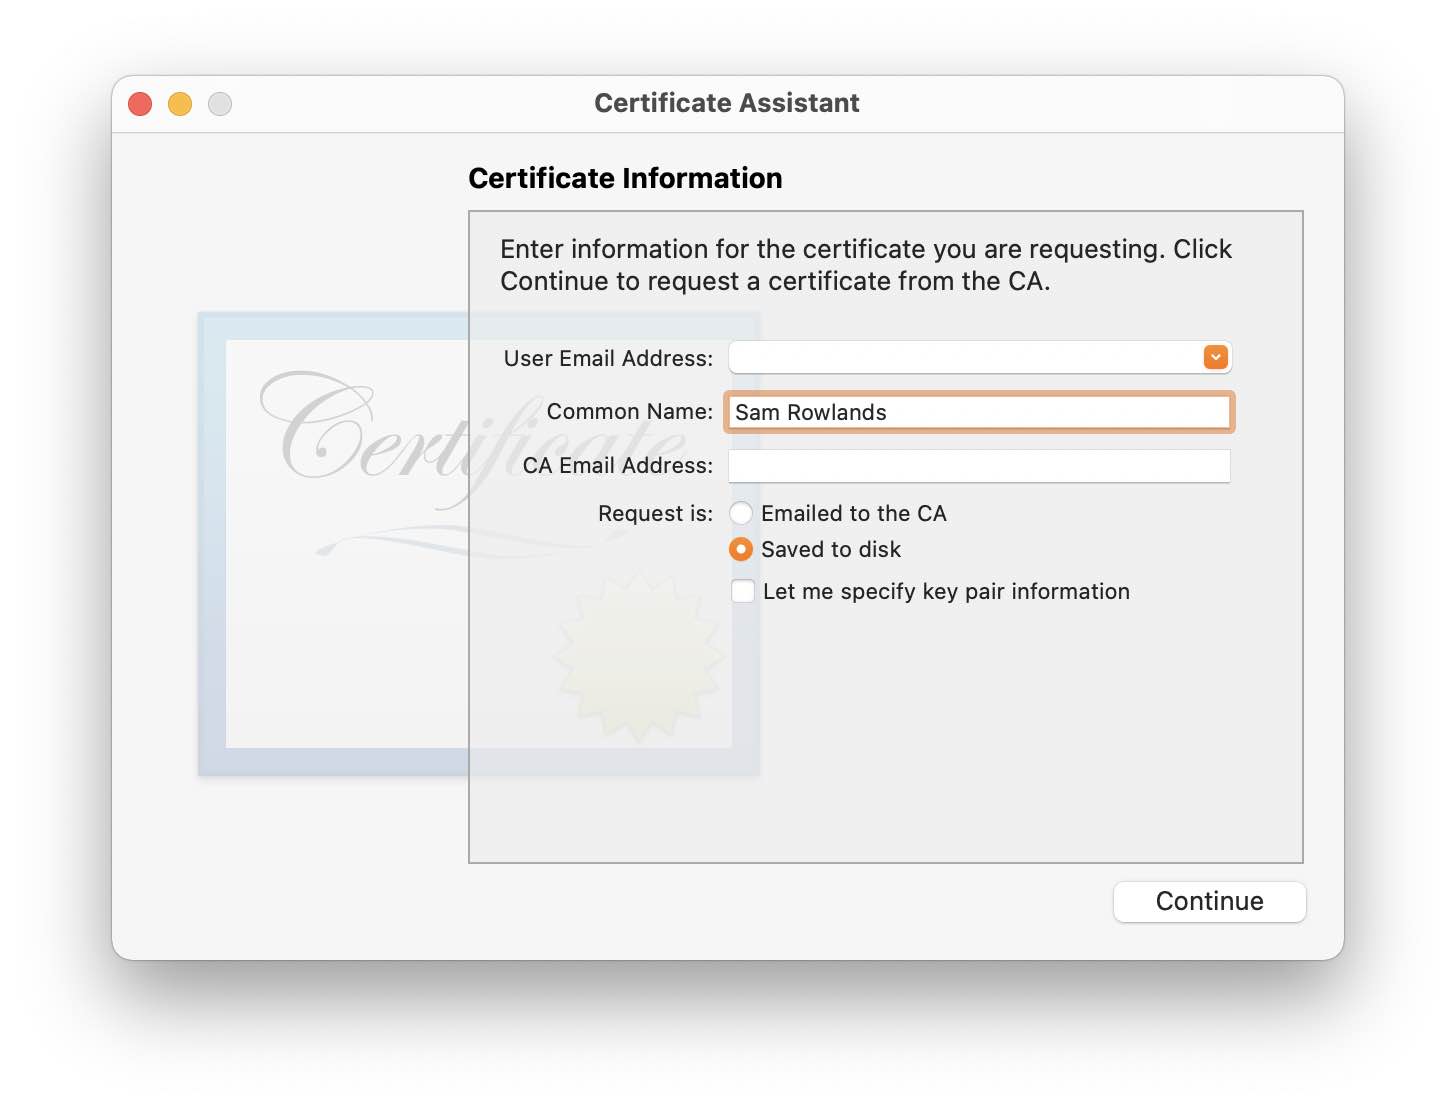
- Save the file somewhere it is easy to get to.
- Visit the certificates section of the Apple Developer Account page, log-in if needed.
- Click on the Blue "+" icon next to the header "Certificates".
- Chose the type of certificate to create.
- If you're shipping your Mac app via your website, select "Developer ID Application" (and "Developer ID Installer if you use Apple installers).
- For App Store select "Mac App Distribution" and "Mac Installer Distribution".
- On the page "Upload a Certificate Signing Request", click on the "Choose File" button and select the file we created earlier, then click on "Continue".
- Click on "Download" and choose to open the file in "Keychain Access".
Congratulations, you've manually created and installed a certificate.